 Avoid the fake news and head offroad with confidence after busting these common 4WD recovery myths
Words by James Jackson
These tips have been provided by Australian Offroad Academy, the 4WD trainers trusted by Hema Maps.
Tip one: Snatch straps
When it comes to snatch straps, bigger is most certainly not better. Many fair-weather fans will buy the heftiest strap they can under the impression that a stronger strap means a safer recovery, even if their vehicle doesn’t warrant such a high rating strap. The reality is that choosing the right strap for your vehicle’s mass is essential for safety as well as performance. This is because, in a snatch strap recovery, the strap should be the weakest point and the thing you want to break first (for safety’s sake), so using a strap that’s rated too highly can be hazardous; and since a snatch strap’s effectiveness comes from its elastic potential, using a strap that’s too strong will increase shock load during recovery and reduce your chances of success. Instead, stick to the general rule of using a strap with a minimum breaking point that’s around two-to-three times your vehicle’s GVM, thereby giving yourself the best chance of a safe and triumphant recovery.
Tip two: Momentum
While on the subject of snatch straps, let’s talk about the small issue of recovery vehicles and too much momentum. To be clear: there is no direct correlation between the size and ferocity of your approach and the chance of your recovery going well. To understand why, it’s important to know how snatch straps actually work. In a snatch recovery, the mobile vehicle is attempting to transfer energy to the unmoving vehicle – and enough of it to overcome whatever’s incapacitating it (soft sand, spongey mud or otherwise). What’s most important in this situation is what’s actually transferring the energy: the snatch strap. If you are driving the recovery vehicle, your directive is to best transfer the energy from your vehicle to the strap, which will then do the work to complete the recovery. With that in mind, focus on balancing the power of your approach with the smoothness of your energy transferral into the strap during your next snatch recovery to get the best and safest result.
 Tip three: Winches
The common perception of winches is that they’re a last-ditch emergency accessory, only to be used in panic-worthy circumstances. However, the truth is that if you know how to use one, your winch can be a key tool for assessing a track and negotiating obstacles without the need for brute power. Some tracks, or sections of, are steep enough and rough enough to make any four-wheel driver leery of attempting a drive, but with some well-placed anchor points to winch towards and some experience, an impossibly steep and rocky High Country track can become doable. More to the point, a winch can give you time and control when overcoming an obstacle (steep bits, rock ledges, embankments, terrain that’s not conducive to tyre traction) that would otherwise be full of risk or simply not possible with a wheel-spinning approach. In that sense, a winch is a tool for making a potentially risky situation safer, rather than a last resort in an already-dangerous situation.
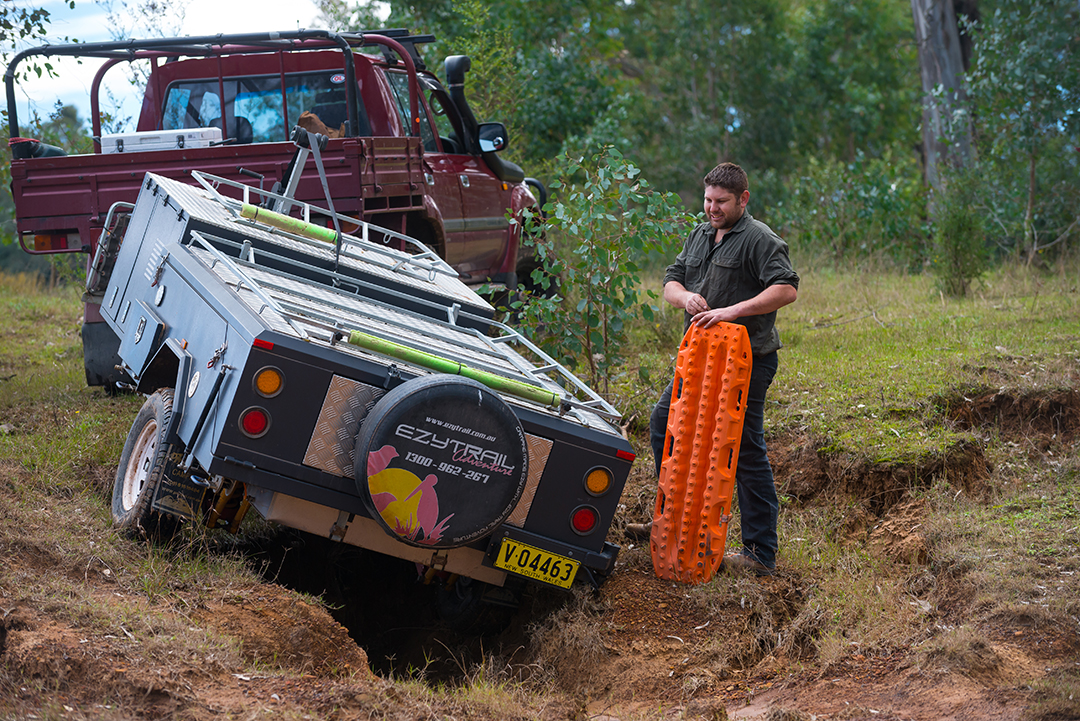
Tip four: Traction boards
It may be the place they’re used most, but believe it or not traction boards are not just for the beach. Used correctly they can be a quick and painless way to claw your way out of deep ruts, or more similarly in mud or silt where traction is scarce. To that same end, it must be said that not all traction boards are created equal, since not all products on the market are able to withstand the more severe punishments you can impart on higher-quality traction boards. Keeping in mind that a set of reliable boards can be a multi-functional recovery tool, opting for a quality set can give you peace of mind while opening up your recovery possibilities.